Biography
Selected Works
Valley Line LRT Public Art Sculptures
2020 Sweetie
2018 Against the Patriarchy: Tools for the Revolution
2017 Spurious Synthetics
2015 Artificial Bionomics
2013 - 2014
2010 - 2012 Masters of Applied Arts
2009 Fabricated Ecologies
Resume
Contact
Menu
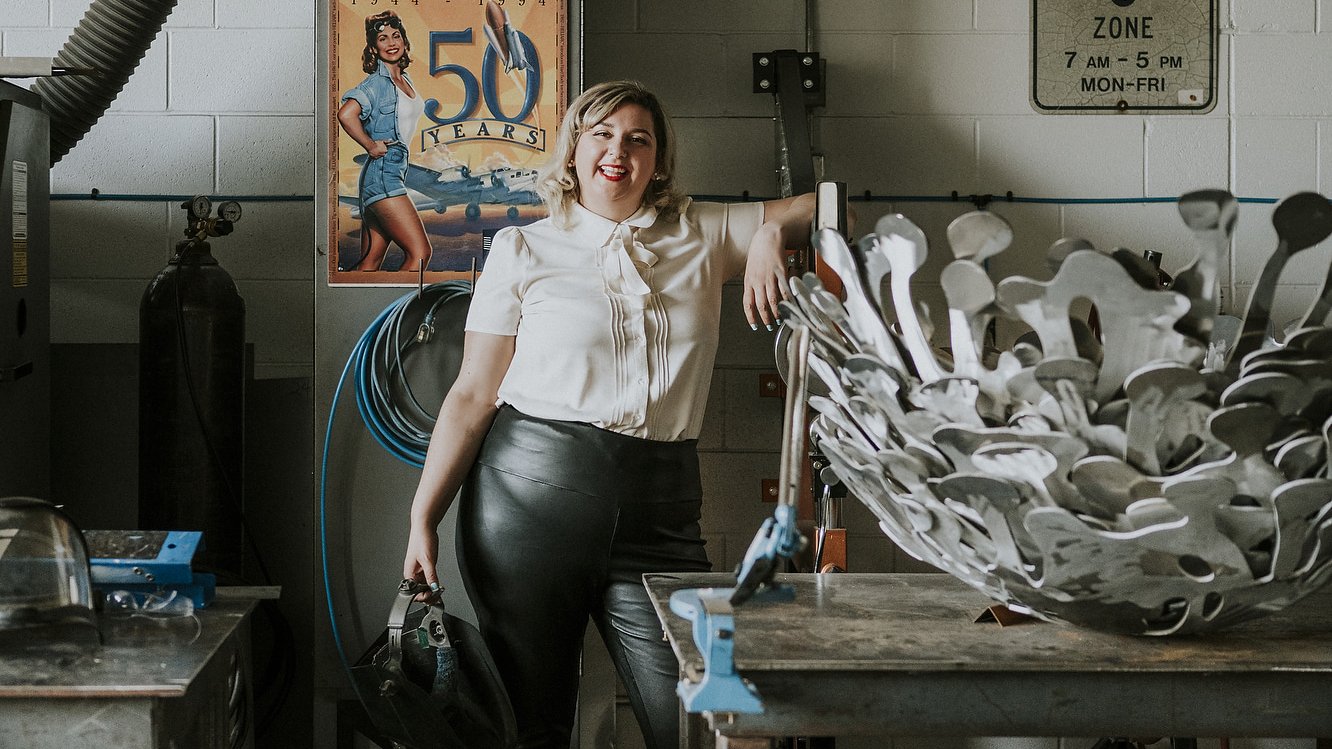
Stephanie Jonsson
Visual Artist
Biography
Selected Works
Valley Line LRT Public Art Sculptures
2020 Sweetie
2018 Against the Patriarchy: Tools for the Revolution
2017 Spurious Synthetics
2015 Artificial Bionomics
2013 - 2014
2010 - 2012 Masters of Applied Arts
2009 Fabricated Ecologies
Resume
Contact
×
Stephanie Jonsson
Artist. Sculptor. Maker extraordinaire.
Email Me